Documentation Index
Fetch the complete documentation index at: https://docs.atomcommerce.io/llms.txt
Use this file to discover all available pages before exploring further.
TL;DR
Set up the Atom Commerce smart grid tile in Shopify Admin, then confirm POS mode on the device. When setup is complete, staff can apply Atom Commerce discounts directly from POS.Prerequisites
Before you start, make sure you have:- An active Atom Commerce account
- Shopify POS installed and set up on your device (supports both POS PRO and POS LITE)
- You can log into your Shopify store as an admin
- Your POS device is available during setup
Shopify Admin Configuration
First, enable the Atom Commerce Discounts app in Shopify POS settings.Step 1: Navigate to POS Settings
- In your Shopify admin, go to Sales channels > Point of Sale
- Click Settings in the left sidebar
Step 2: Access POS Apps
- In the General section, click POS apps
- You’ll see a list of installed POS applications
Step 3: Configure Atom Commerce Discounts
- Find Atom Commerce Discounts in the app list
- Click on Atom Commerce Discounts to open its settings
- In the Customize this app section, check that Smart grid tile shows Added with a green checkmark
- If it shows Remove instead, click the Add button to turn on the smart grid tile
POS Device Configuration
After enabling the smart grid tile in Shopify Admin, validate and configure settings on the POS device.Step 1: Find the Atom Commerce Tile
- On your POS device, open the smart grid (the main screen with buttons)
- Look for the Atom Commerce Ready tile (it shows the Atom Commerce logo with circles)
- You should see this tile on your smart grid screen with your other POS buttons
Step 2: Open Atom POS Configuration
- Tap the Atom Commerce Ready tile
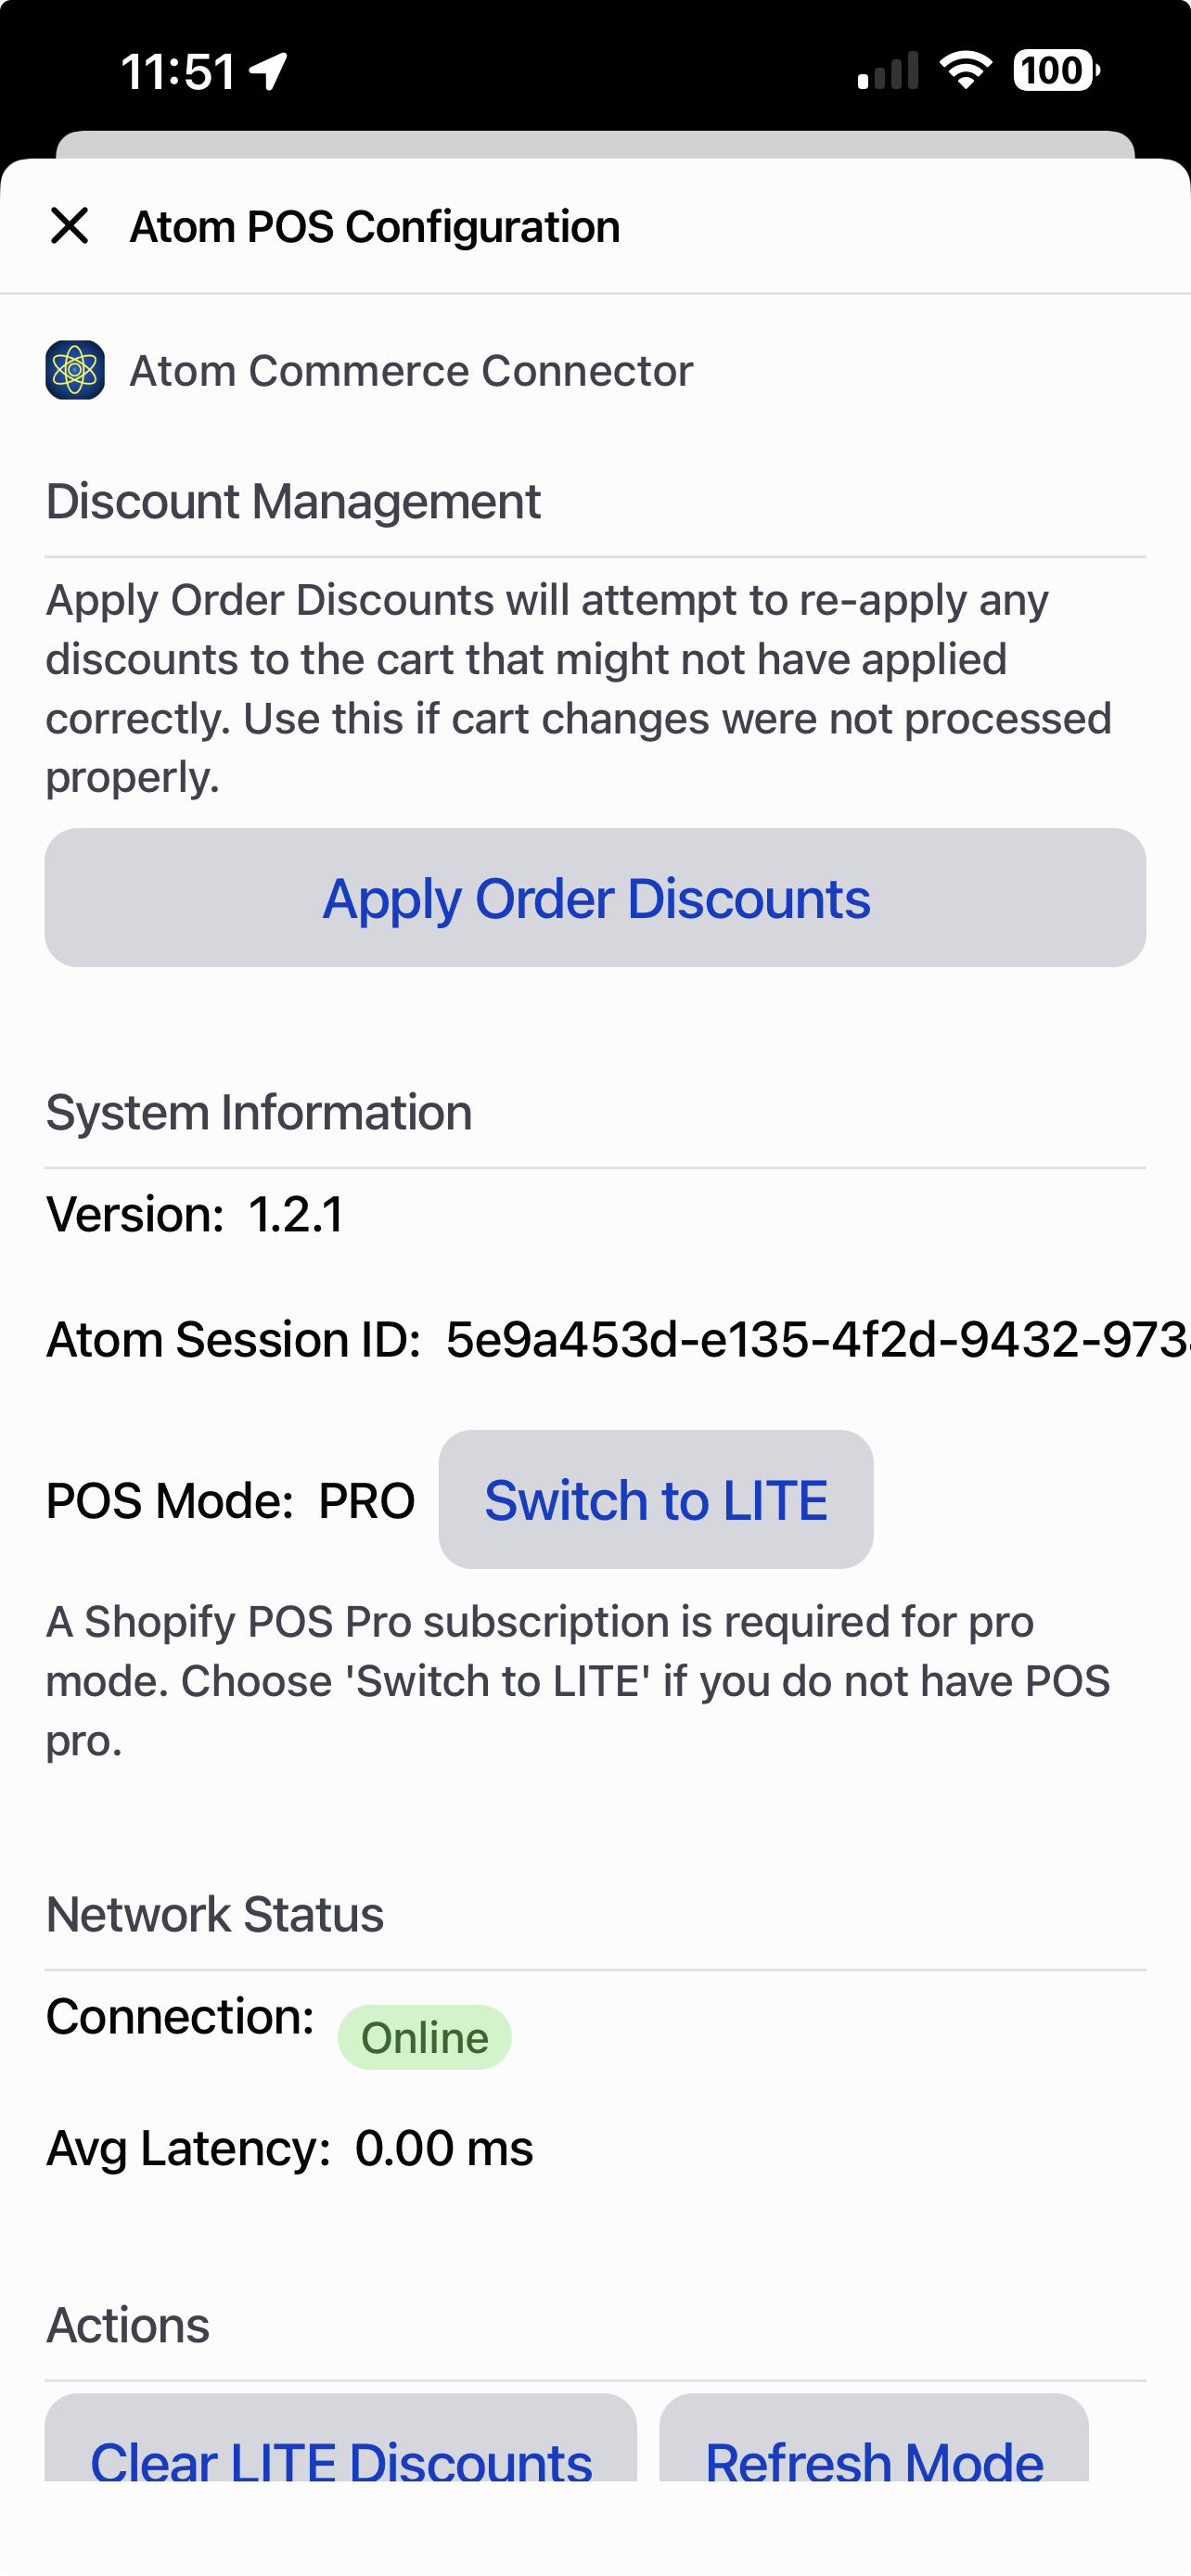
- This opens the Atom POS Configuration screen
Step 3: Verify POS Mode
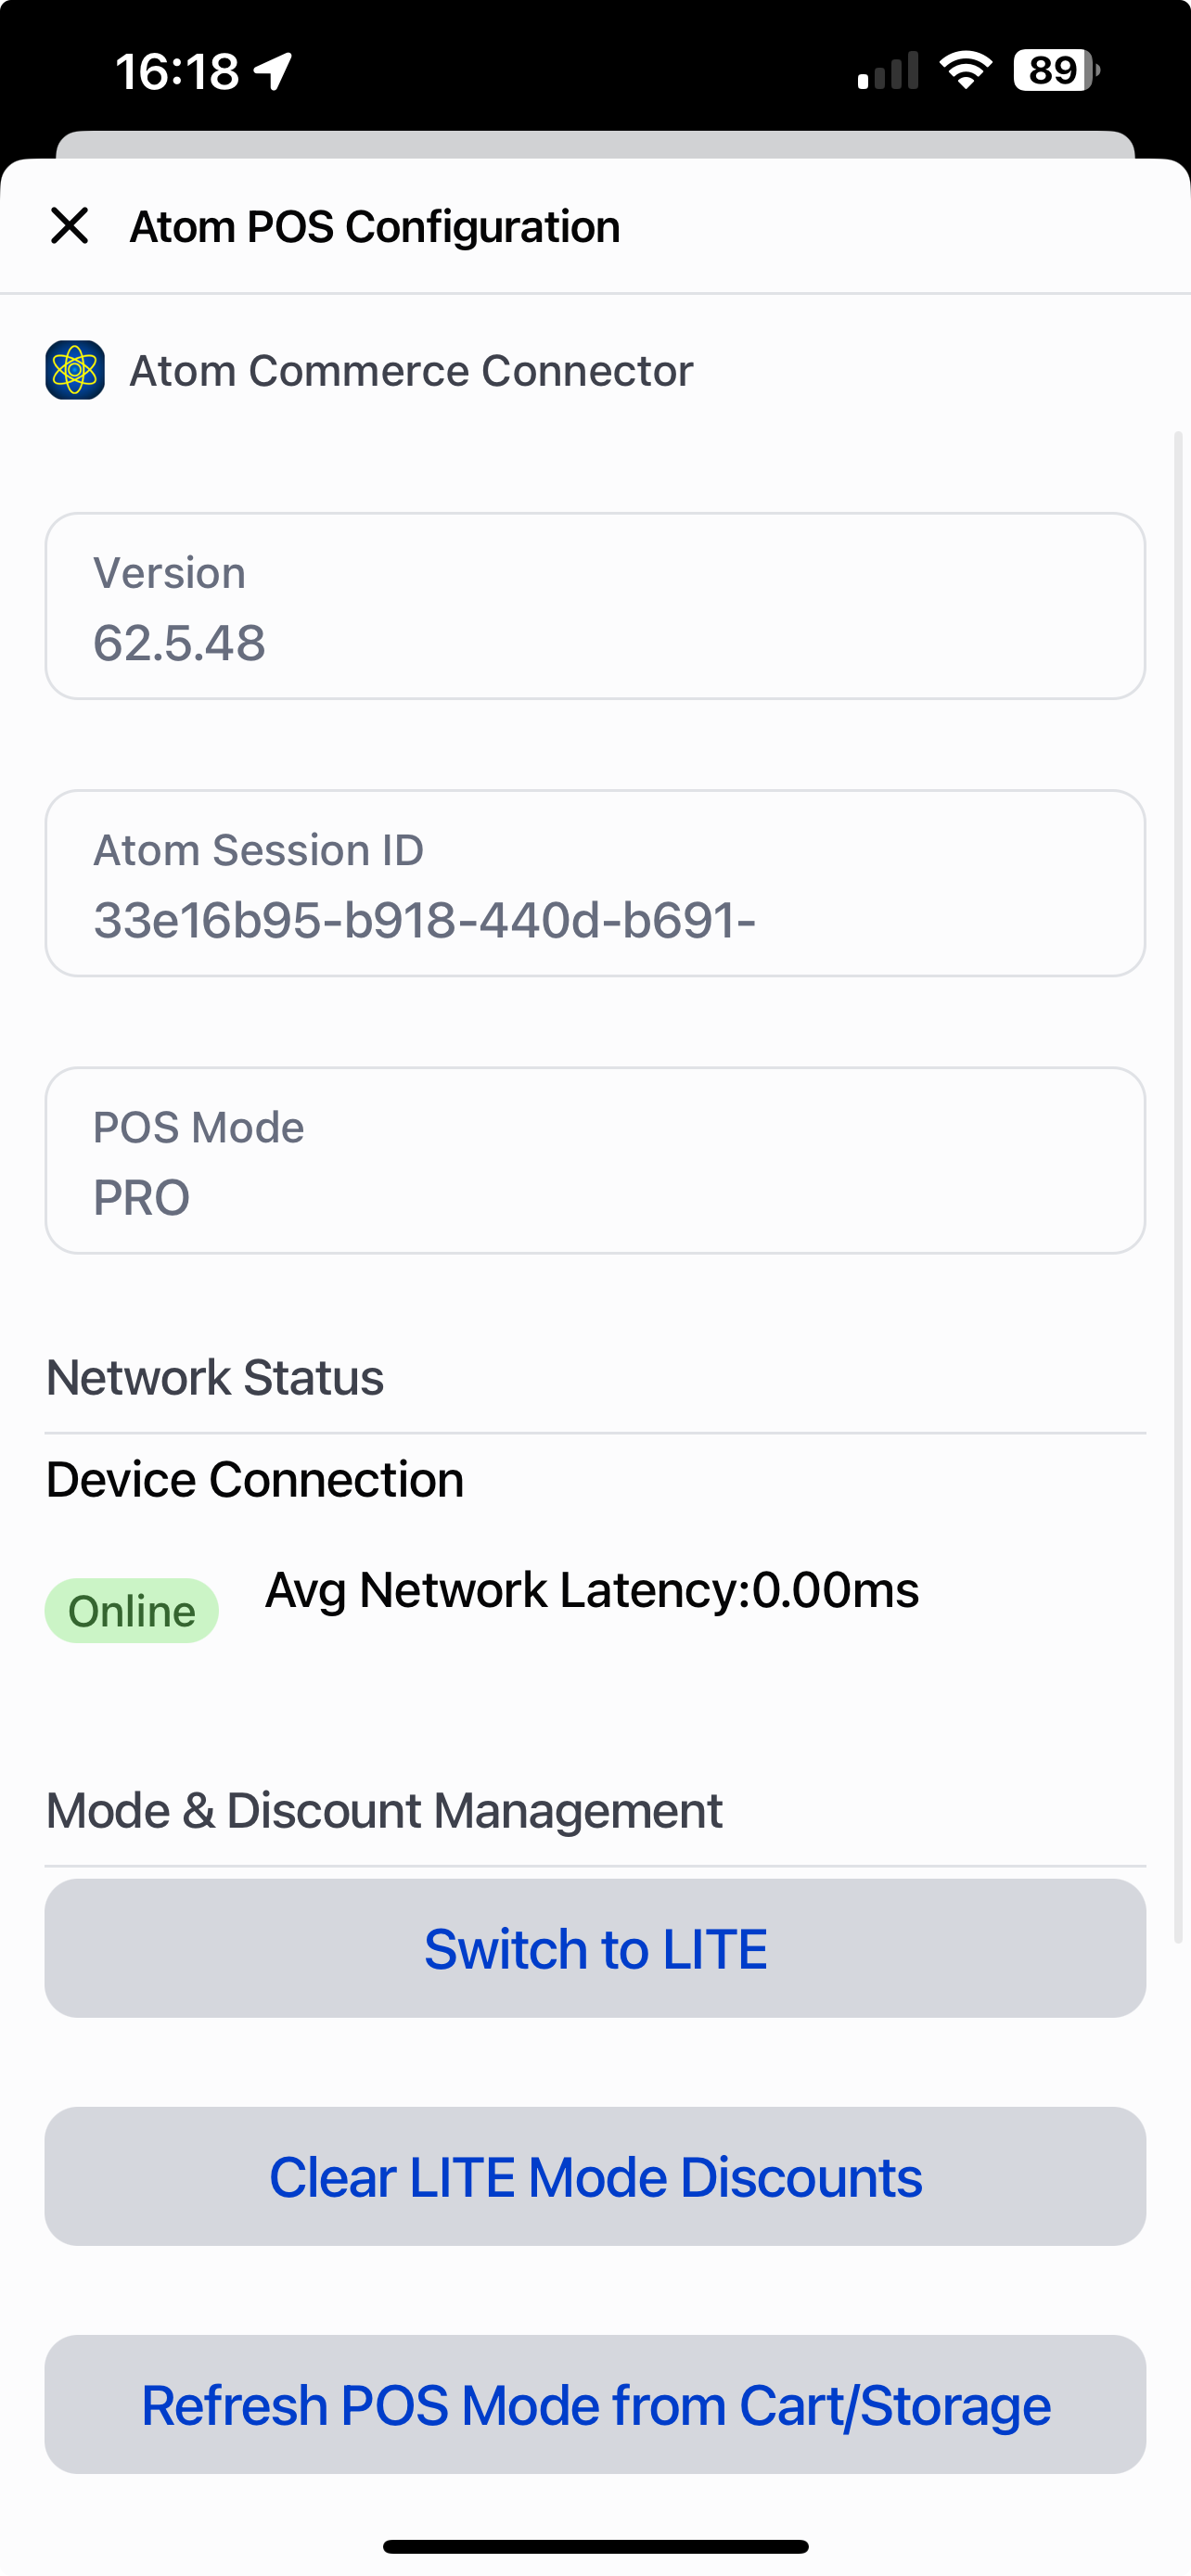
- In the Atom Commerce Connector section, find POS Mode
- Confirm that the displayed mode matches your Shopify POS subscription:
- If you have POS PRO, it should show PRO
- If you have POS LITE, it should show LITE
- If the wrong mode is displayed, switch to the correct mode:
- Click the Switch to PRO button (if you need PRO mode)
- Or click the Switch to LITE button (if you need LITE mode)
- Once selected, the mode will be saved and you can close the POS configuration screen
- Clear your POS cart and try again using the new mode
Step 4: Clear Atom Session (If Needed)
If you just switched modes, or discounts are not applying:- Scroll to the bottom of the Atom POS Configuration screen
- Click Clear Atom Session
- This refreshes the connection between your POS device and Atom Commerce
Verification
After you finish the setup, check that everything is working:- Shopify Admin: Make sure the Smart grid tile is set to “Added” for Atom Commerce Discounts
- POS Device: Check that the “Atom Commerce Ready” tile shows up in your smart grid
- POS Mode: Verify that POS Mode shows the correct mode (PRO or LITE) matching your Shopify POS subscription
- Test a Discount: Try using an Atom Commerce discount on a test sale on your POS device
Troubleshooting
Smart Grid Tile Not Appearing
If the “Atom Commerce Ready” tile doesn’t show up on your POS device:- Check that the Smart grid tile is set to “Added” in Shopify admin POS settings
- Refresh your POS device or close and reopen the POS app
- Make sure you have the latest version of the Atom Commerce Connector installed
POS Mode Not Correct
If POS Mode doesn’t match your Shopify POS subscription:- Click Switch to PRO or Switch to LITE in the POS configuration screen to match your subscription
- Click Clear Atom Session to refresh the connection
- If you’re unable to set the correct mode, contact support@atomcommerce.io for assistance
Discounts Not Applying
If discounts aren’t working on POS sales:- Make sure POS Mode matches your Shopify POS subscription (PRO or LITE)
- Check that your offers are set up to work with POS channels
- Go to ATOM POS Configuration and click “Apply Order Discounts” to refresh the discounts in your POS cart
- Make sure your offers are active and the dates are correct
- Use the AI Assistant to help you confirm your offers are working correctly
- See the Managing Channels guide for help with channel settings
Next Steps
Now that POS is configured, you can:- POS Upsells — see how staff use the upsells modal at the register
- POS Settings — configure PRO vs LITE mode and apply order discounts
- Managing Channels — set up offers for POS
- Creating Offers — make discounts that work with POS